How to Hang a Wall Gallery
I’ve procrastinated on writing this post for just about as long as I have on hanging my own wall gallery. Is there anyone out there who loves hanging frames? I haven’t met anyone yet. I love to decorate our home with personal works of art. And I’m gung ho about making it happen from the photo shoot through framing that favorite print. But there’s always this idle time where I take my treasured framed print and lean it right up against the wall below the space where I plan to hang it. And then it just sits there for a few weeks until I decide to finally tackle the challenge.
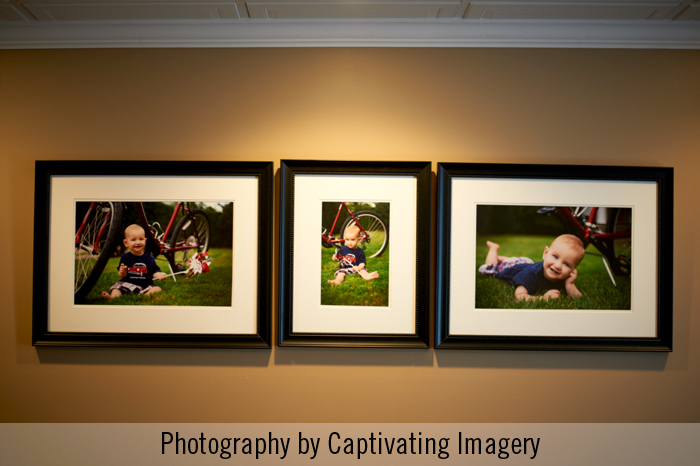
Well, I recently put together a triptych (that’s a fancy term I learned in photography school for a series of three photos that I love to squeeze into my vocabulary whenever appropriate) from a outdoor session last summer with my son. And no matter how wild I am about these images, I knew it was going to be a big feat to get all three framed prints up on the wall in a pleasing arrangement so that they’re all aligned, level, and perfectly spaced apart. If you’re like me, the challenge of getting multiple frames to hang perfectly aligned and avoiding lots of holes in your wall, it can be all too overwhelming. So today, I’d like to share with you a few things I’ve learned throughout this process.
There are two main points I’d like to drive home in hopes that my experience will make yours a bit more bearable. The first is, it’s best to have a helper so that you have two sets of hands and can step back to see if you like the positioning as you go. And my second and most valuable lesson is to avoid measuring! Yep, no measuring tapes or rulers needed! Measurements are great when they’re precise, but it is oh so easy to mess up. Not to mention that you could have measured your layout perfectly and then not like how it looks when you see your artwork up on the wall.
Here’s a case in point, and I’m mildly embarrassed to share this lame first attempt…
There two problems here with this first attempt. In my mind, when I was planning my measurements, I thought that allowing two inches between the edge of each frame would be enough. But when I stepped back, the frames looked like they were crammed together. And the second mistake I made was to measure from the crown moulding where the picture hangers should go… I never went back to figure out if there was an error in my measuring or if maybe my ceiling isn’t level, but you can see that the alignment of the frames is slightly sinking to the right. If I had used a level instead of measuring from the ceiling, I’m sure I would have avoided that.
Ok, on to my findings in what does work! I decided to get out a level and draw a straight line in pencil that would represent the top edge of my frames. If you’re not keen to taking a pencil to your walls, you could use a chalk line or painter’s tape to the same effect.
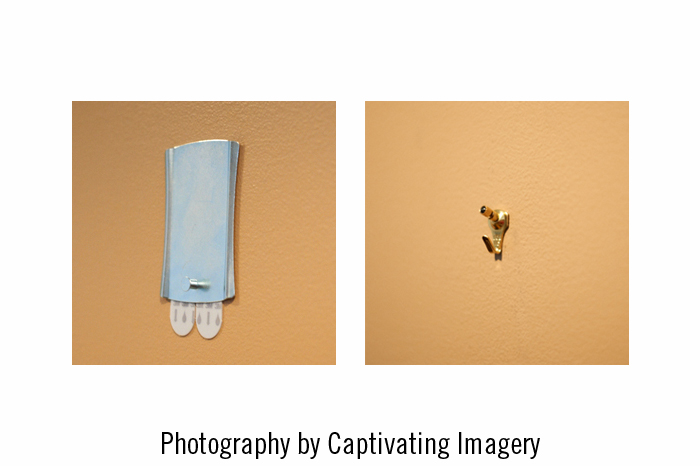
If you haven’t heard of Hercules hooks, they’re genius! I used those for the two outermost frames. When I went to hang the middle frame, I found that it was centered on a stud in the wall. So, I used a tried and true picture hanger for that one. Also, if you have plaster walls, the Hercules hooks won’t work. You may want to use a standard picture hanger or 3M Picture Hanging Hook.
Now for the second issue of finding out that two inches between each frame was not enough. I could have used craft paper to trace the shape of each frame, cut it out, and used painters tape to hang the grouping on the wall and tweak the positioning as needed. That’s really not a bad idea, but I have to be honest and say that I’m not that patient. I needed to make this happen during my son’s nap time because I had let this project go for far too long. However, if this sounds like a plan to you, you’ll just need to measure the distance from the upper edge of your frame to the place where the picture hanger would rest. If you have D-rings or sawtooth hardware on the back of your frame, it’s very straight-forward. If your frame has picture wire, just pull the wire taught in the center of the frame and measure from that point to the frame’s upper edge. Then take your measurement and mark the craft paper on your walls for the picture hanger of your choice.
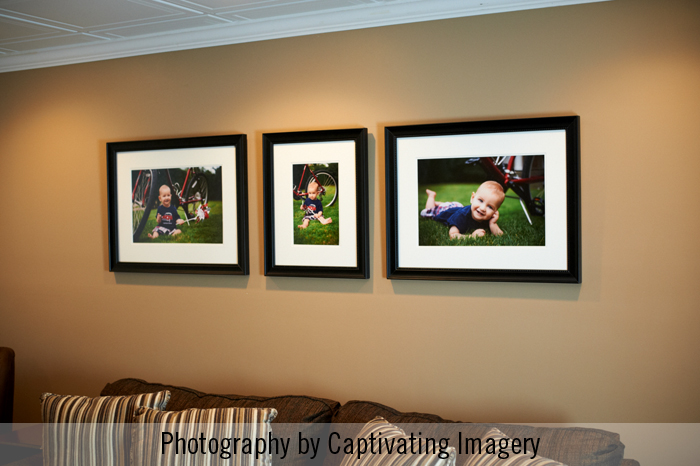
When I was purchasing my Hercules hooks on Amazon, I stumbled upon a very handy tool that allowed me to skip that last part entirely. The Hang and Level helps you to figure out where the picture hanger should be located by allowing you to use the actual frame to determine the positioning. I’m not getting any kick-backs from this company, just passing along what I feel is a worth-while tool. So if you’re looking for a way to make your gallery wall project a little easier, you may want to check out their website to see what it’s all about. I’d also like to add that the tool comes with a built-in level. Anyway, I started with the center frame and determined it’s position by the width of the wall. After I found the center, I used the Hang and Level tool to find the mark for the picture hanger so that the top edge of my frame would fall on the level pencil line. Then I stepped back and determined how much negative space I wanted on either side of the frame. I just eyeballed it and hung the second frame. Then I measured the space between the two frames so that I could duplicate that distance on the other side. I used the word measure, but I didn’t actually use a ruler. I just marked both edges on a piece of paper and transposed those markings on the other side and it worked! Here’s the finished look:
I love how these prints look together and now I think I’ll be hanging more wall galleries in the near future!

 Captivating Imagery

Leave a Reply
Want to join the discussion?Feel free to contribute!